| Home | Material | My Telescopes | Mirror Making | Deep Sky | ext. Links |
| 32" Mirror | 24" Kyklopas | 17,5" Aristarchos | 14" Mirror | 10" Archimedes | 10" Travel Dobson | 24 cm Quints | 17 cm Twins | 6" Traveldobson |
| Deutsch (de)![]()
| Home | Material | My Telescopes | Mirror Making | Deep Sky | ext. Links |
| 32" Mirror | 24" Kyklopas | 17,5" Aristarchos | 14" Mirror | 10" Archimedes | 10" Travel Dobson | 24 cm Quints | 17 cm Twins | 6" Traveldobson |
Kyklopas 24" f/4.1
The mirror is better that I ever had dreamed of. With the Foucault test I measured Lambda / 7 wavefront peak to valley and a Strehl of 0.97 (see Foucault Analysis, 56KB Excel sheet). At the star test it shows good overall correction with a narrow zone near the edge (see star test details). If the l/7 are really true, is of academic interest only now (I expect the real Strehl to be a bit lower than I got with Foucault), it shows beautiful images. I hope, this pages encourage other telescope makers who have some experience in mirror grinding to make a "large thin one" as well.
Detailed Mirror
Making Reports:
to grinding
(German)
to
polishing (German)
to
parabolizing 1. attempt (German)
to
parabolizing 2. attempt (German)
to parabolizing "the last Lambda" (German)
Grinding
click on the images to expand them to higher resolution |
The blank came from USA with a pregenerated curve: Precision annealed Pyrex Diameter: 610 mm (24") Thickness: 41 mm (1.6") Weight: 23.8 kg (52.5 lb) Curve radius: 5,150 mm (203")
|
 |
Grinding to match the 250 mm (10") Tool with carbo #70 and #80. This was not really necessary, but I hadn't any experience with pre- generated blanks before |
 |
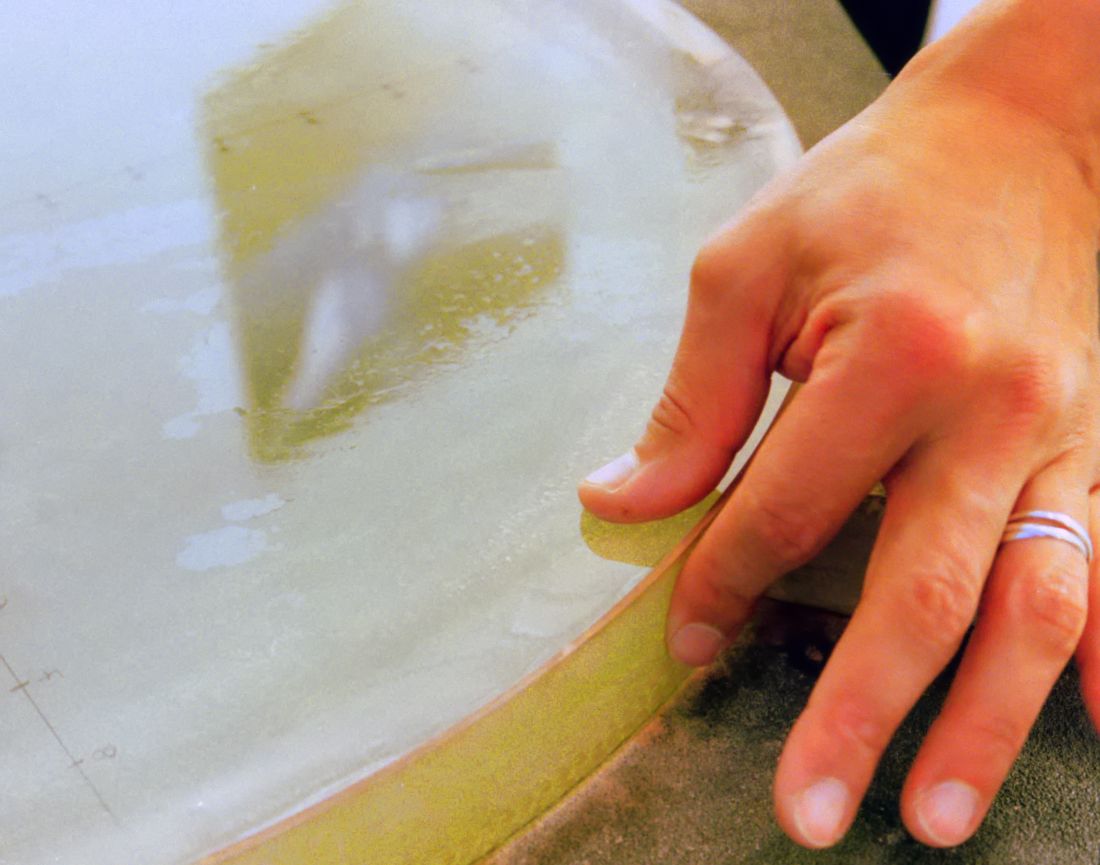
Beveling the edge to 45° with a Carborundum stone. A 2 mm bevel is sufficient to prevent the edge from shipping. |
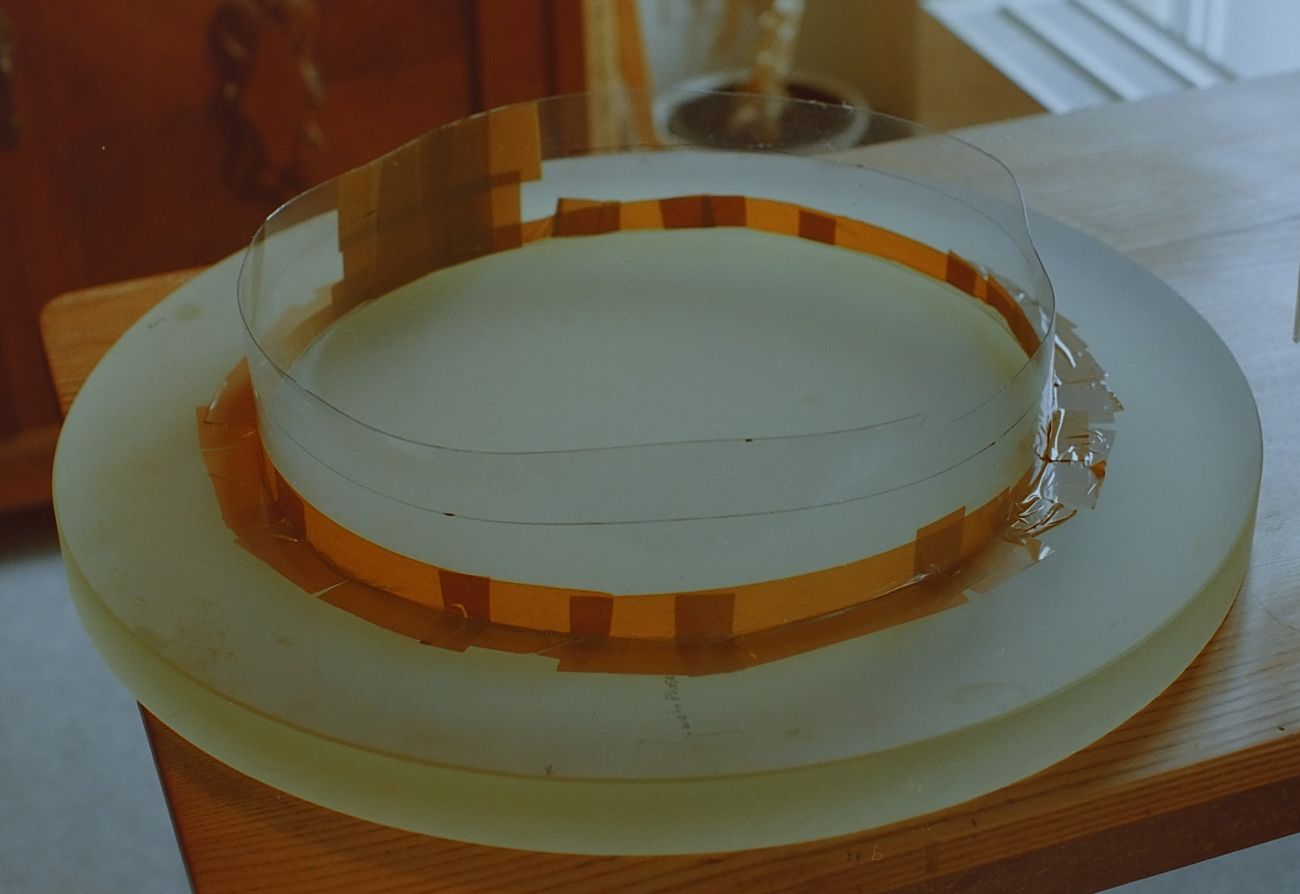 |
Fabricating the form for the 450 mm (18") plaster tool out of thick plastic. Adhesive tape keeps the dam in shape and prevents the liquid plaster from leaking out |
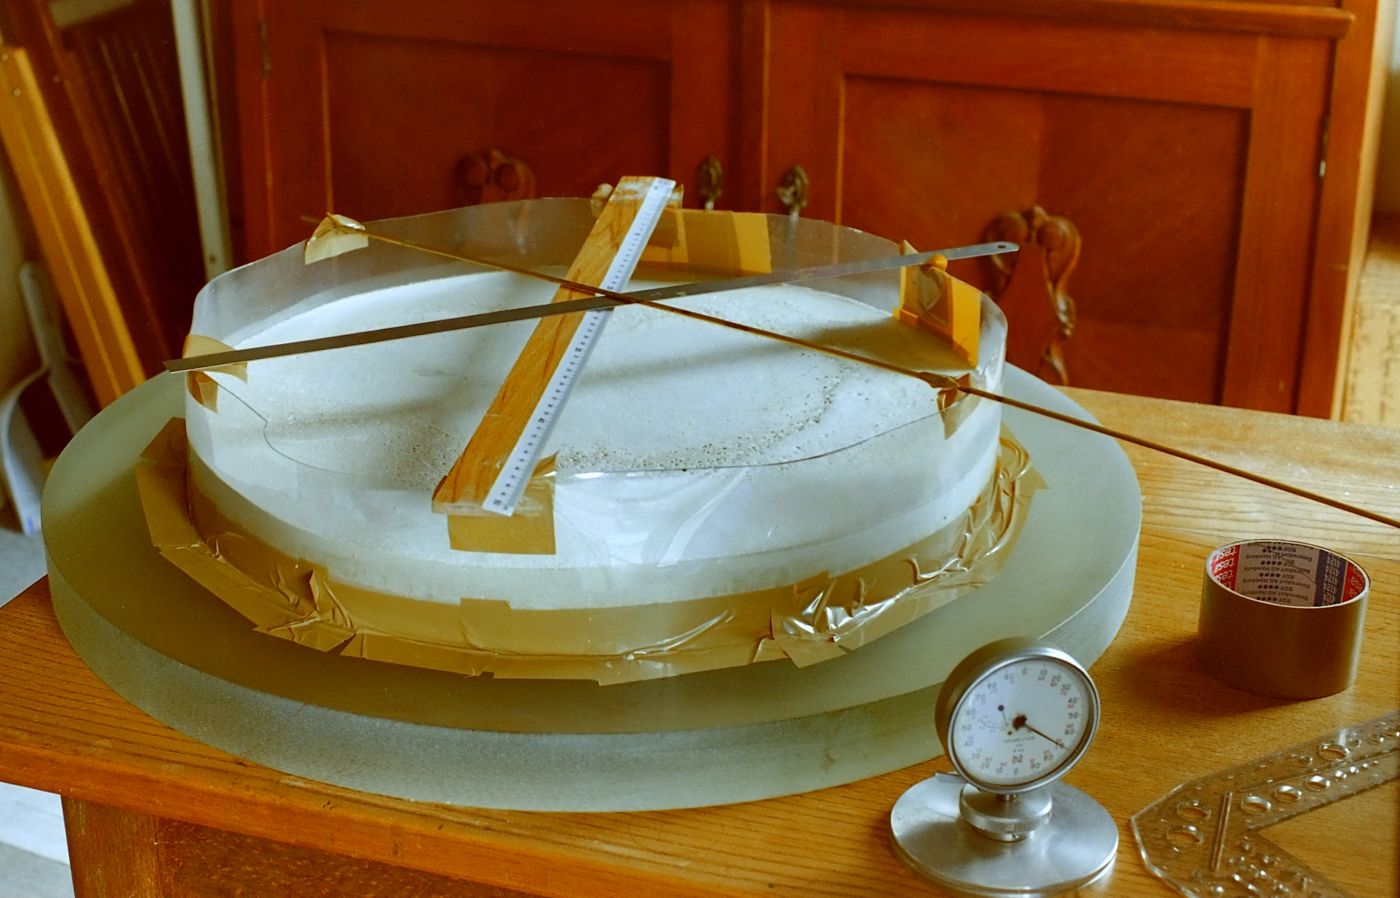 |
Pouring the super hard plaster type "Platre Teha M"
from Börgardts into the form. This stuff has similar properties like
dental plaster and hardens like stone. The plaster was poured directly
onto the mirror, which was rubbed with salad oil before, to prevent
sticking on the blank. Use virgin cold pressed Greek olive oil for best
results <g> |
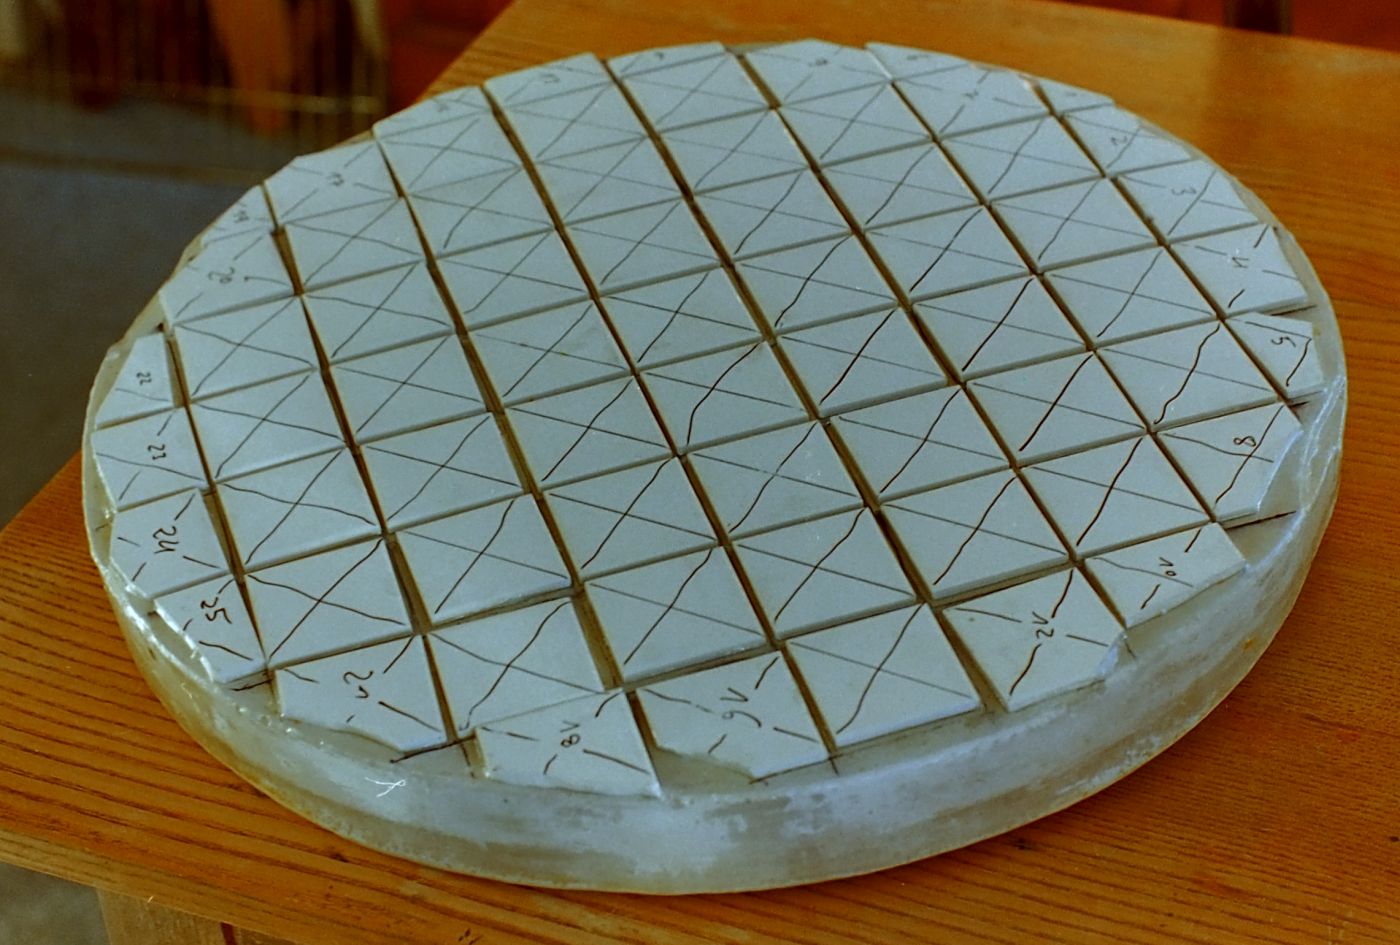 |
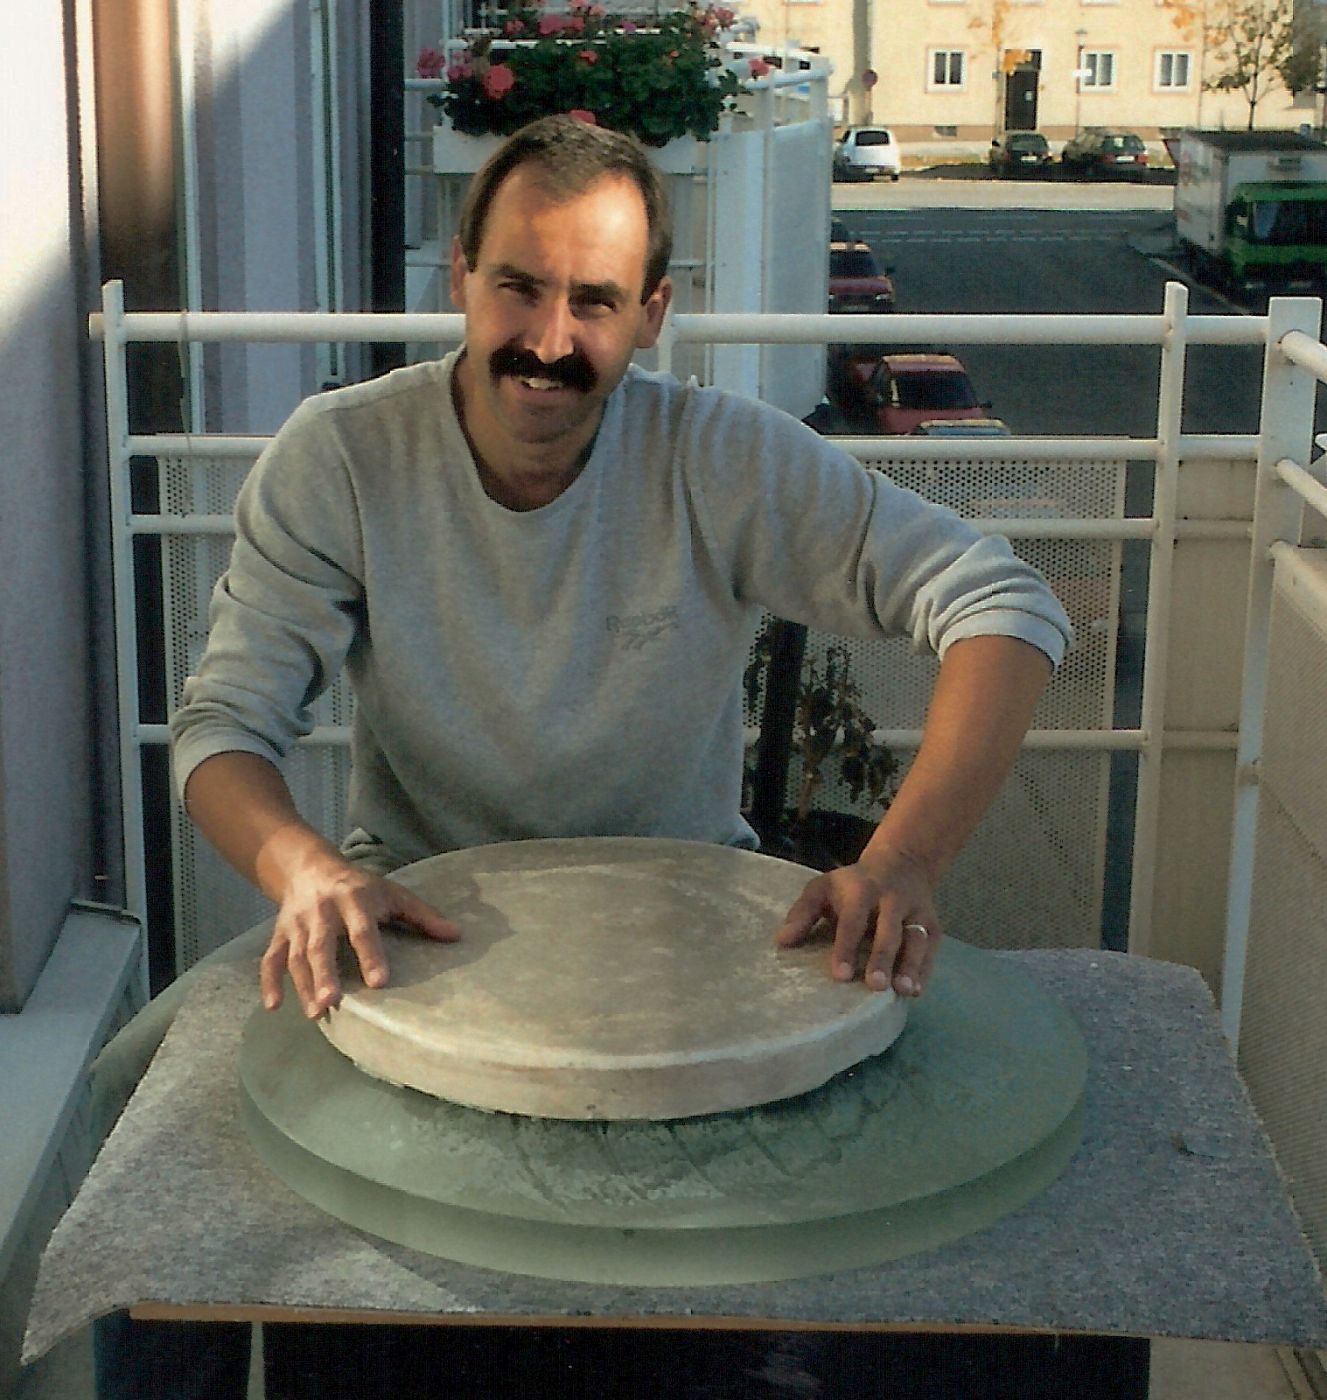
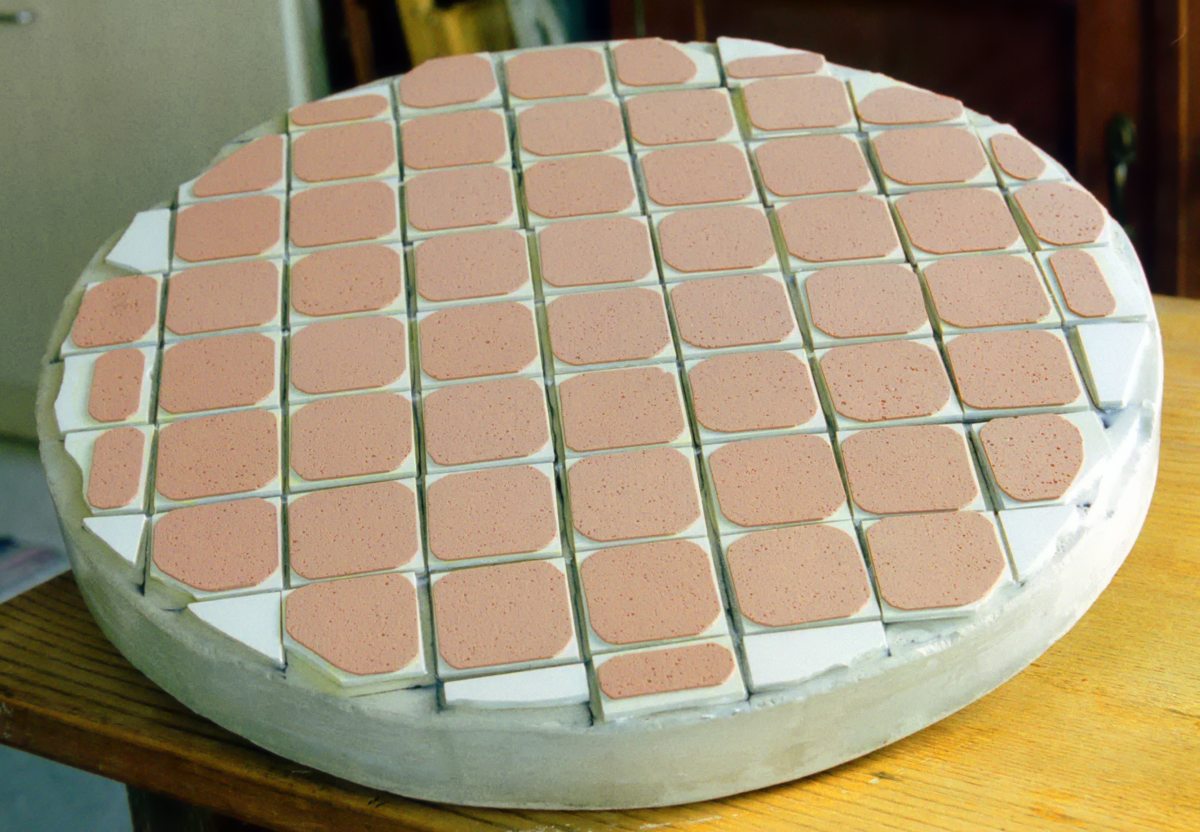
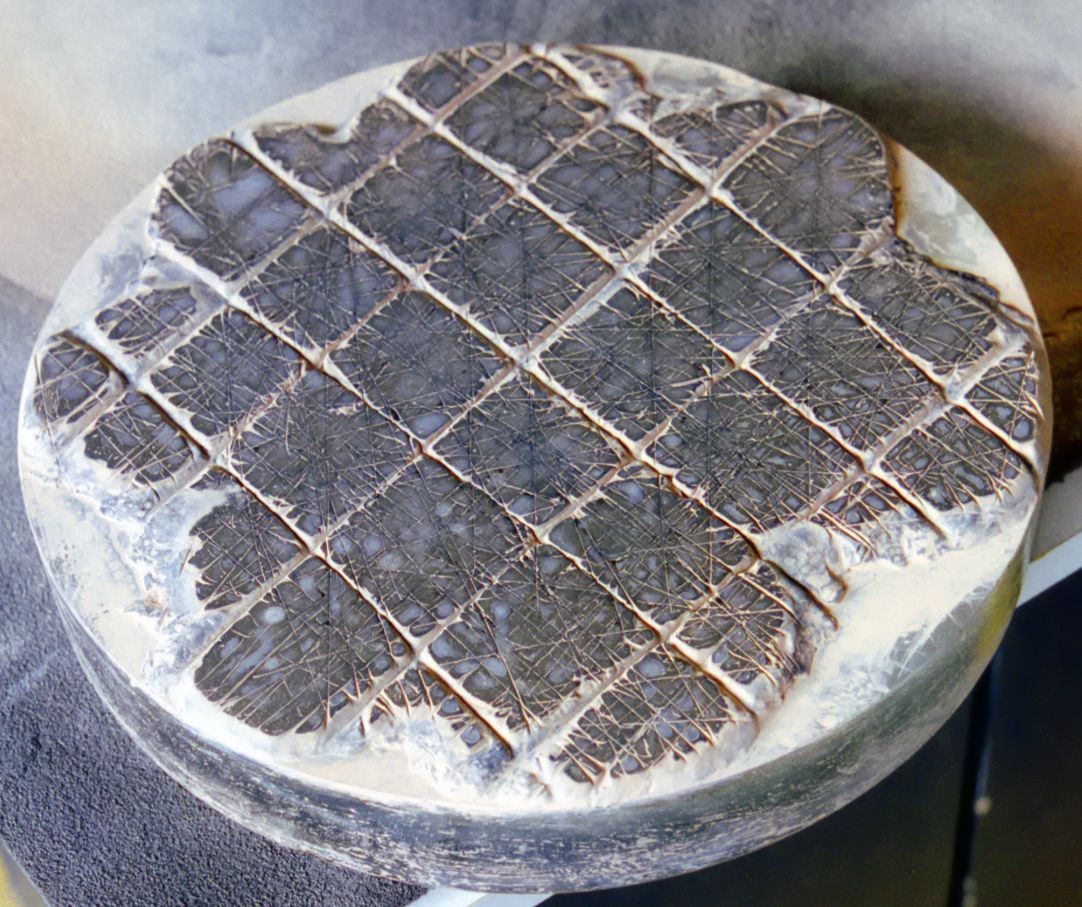
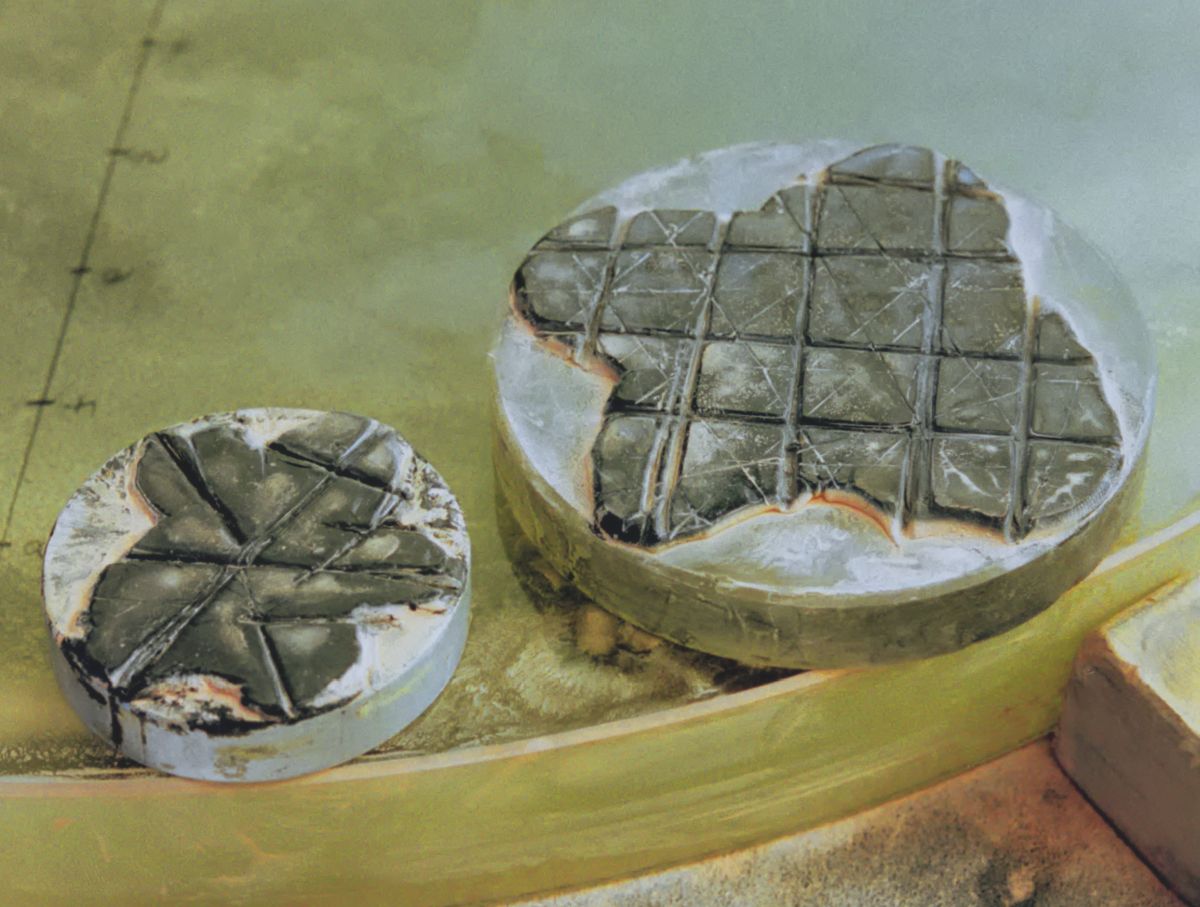
Unglazed tiles 50 x 50 mm (1"
x 1") were glued with epoxy resin onto the tool. Diameter: 450 mm (18") Thickness with tiles: 50 mm (2") Weight: 13,8 kg (30 lb) |
 |
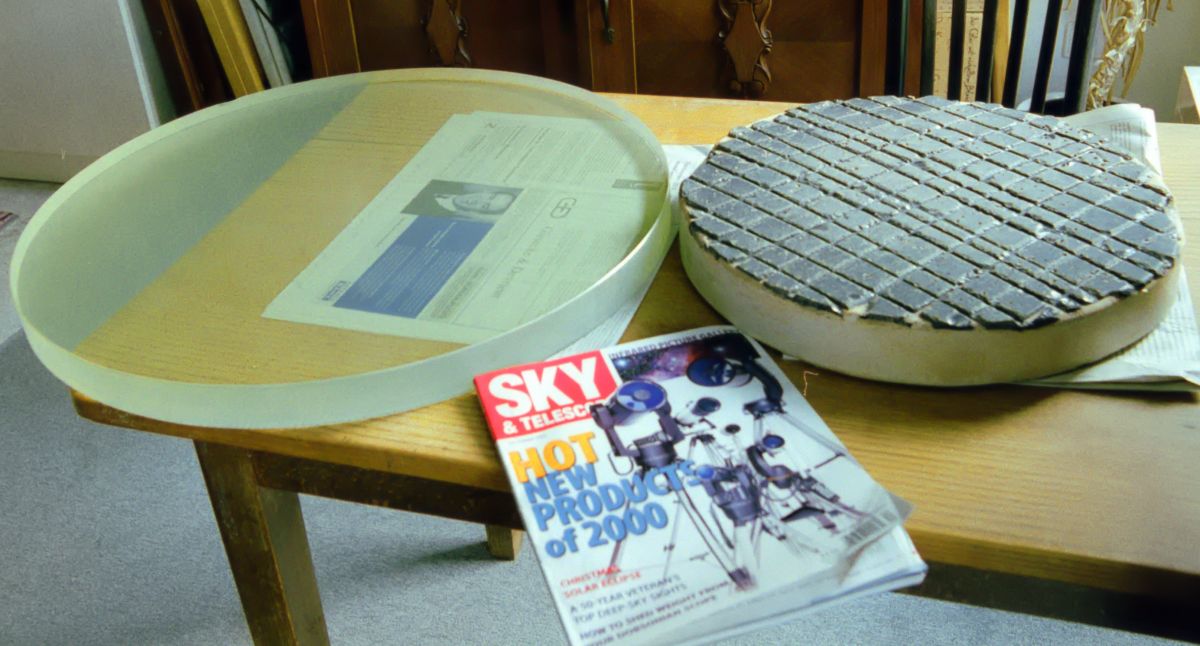
Make matching the tile tool and grinding the
successive carbo grits
--> Finished grinding after 26.5 hours |
| Polishing |
|
 |
Polyurethane polishing pads type LP 66, 1,27 from Pieplow & Brandt were glued with adhesive glue onto the tiles of the grinding tool |
 |
First 6 hours coarse polishing with PU-pads and Cerium Oxyde (CEO). It's a tough
work, to move this tool, it nearly replaces the Marathon training --> PU- pads work faster than pitch, but show a rough surface in the Foucault. |
 |
The new 400 mm (16") 13 kg (29 lb) tool with pitch of type 29° hardness. This hardness classification is used from Zeiss and indicates the working temperature of the lab in centigrade. The 29° is relatively hard for my working room of 20°C (64°F), but keeps the shape better, digs less into the edge and thus helps preventing turned down edges (TDE) |
 |
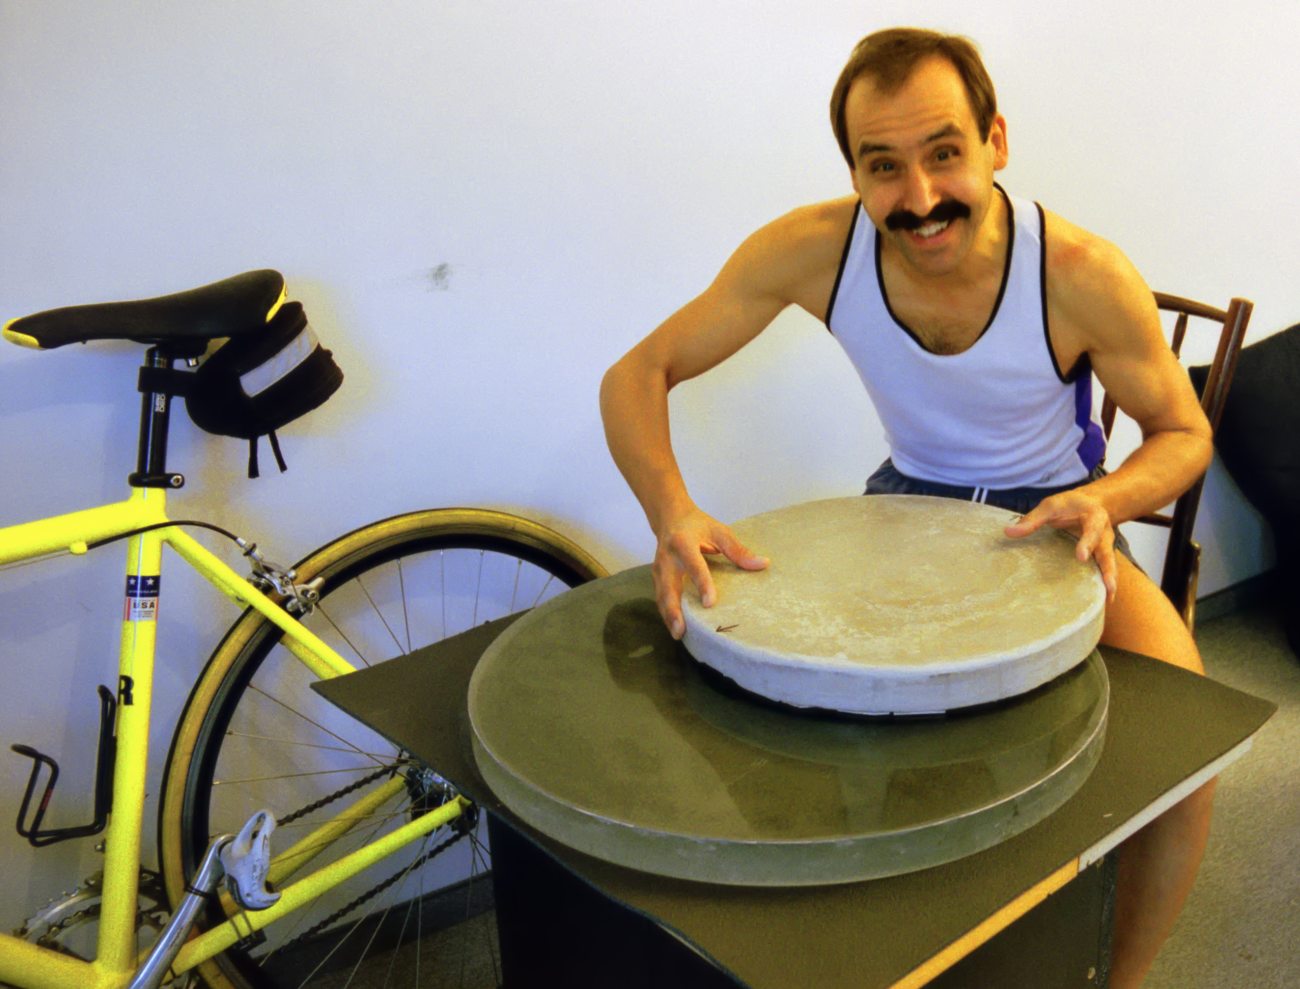
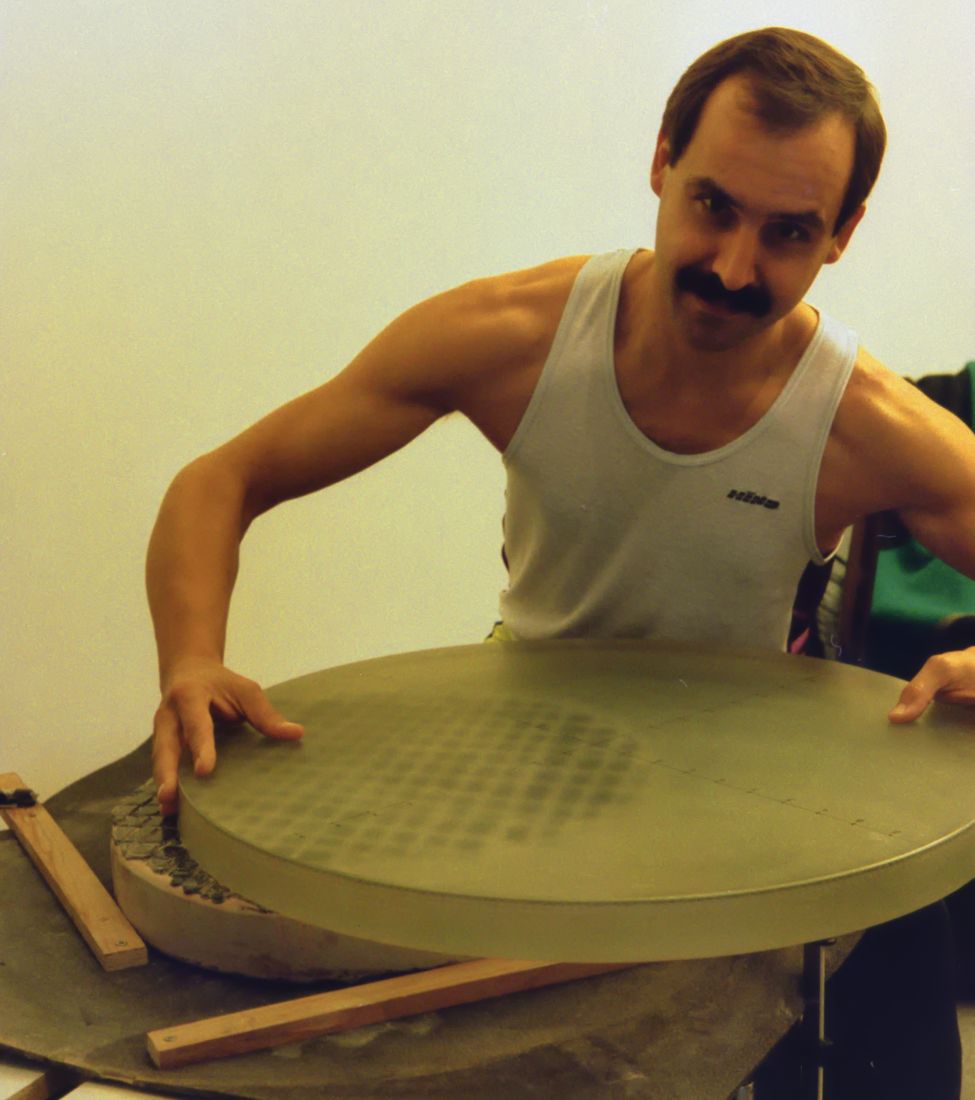
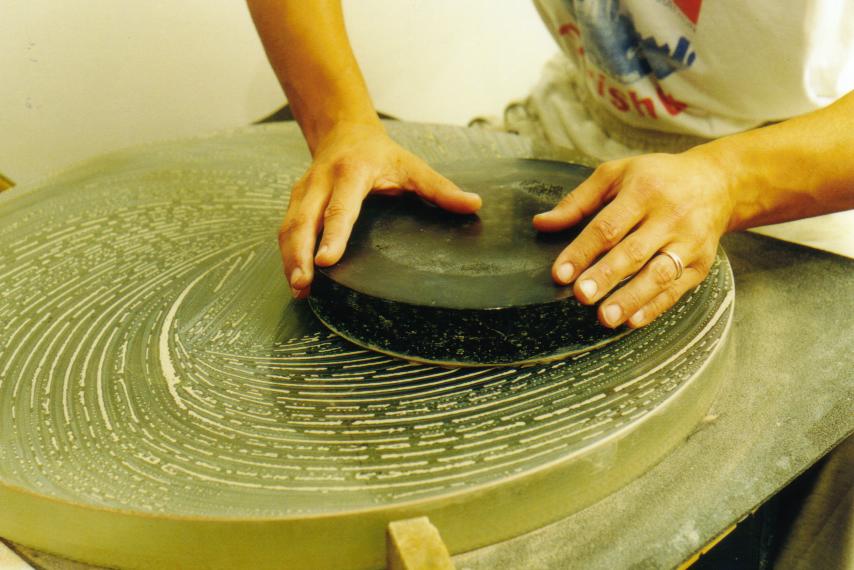
The 24" mirror is polished with the sub-diameter tool working tool on top (TOT). The mirror rests on an old piece of carpet on a plane surface and the tool is moved above it with chaotic strokes. Don't forget, to turn tool and mirror from time to time, to prevent polishing asymmetries into the glass! Changing stroke length and the right amount of overhang make the mirror spherical |
 |
Polishing with the 16" Tool. Cut outs in
the plaster serve as hand grips, to lift the tool more safely. --> Polished out after 16 hours in total (6 hrs. with PU-pads and 10 hrs. with pitch) |
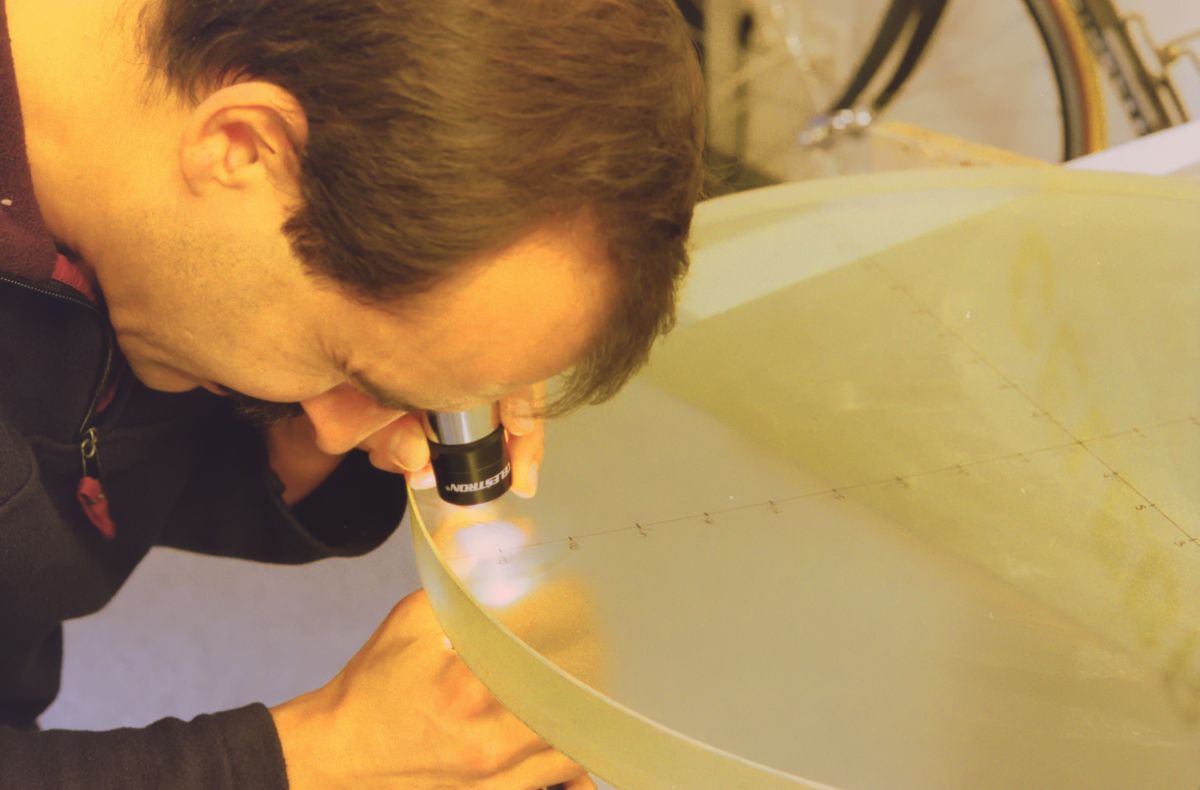 |
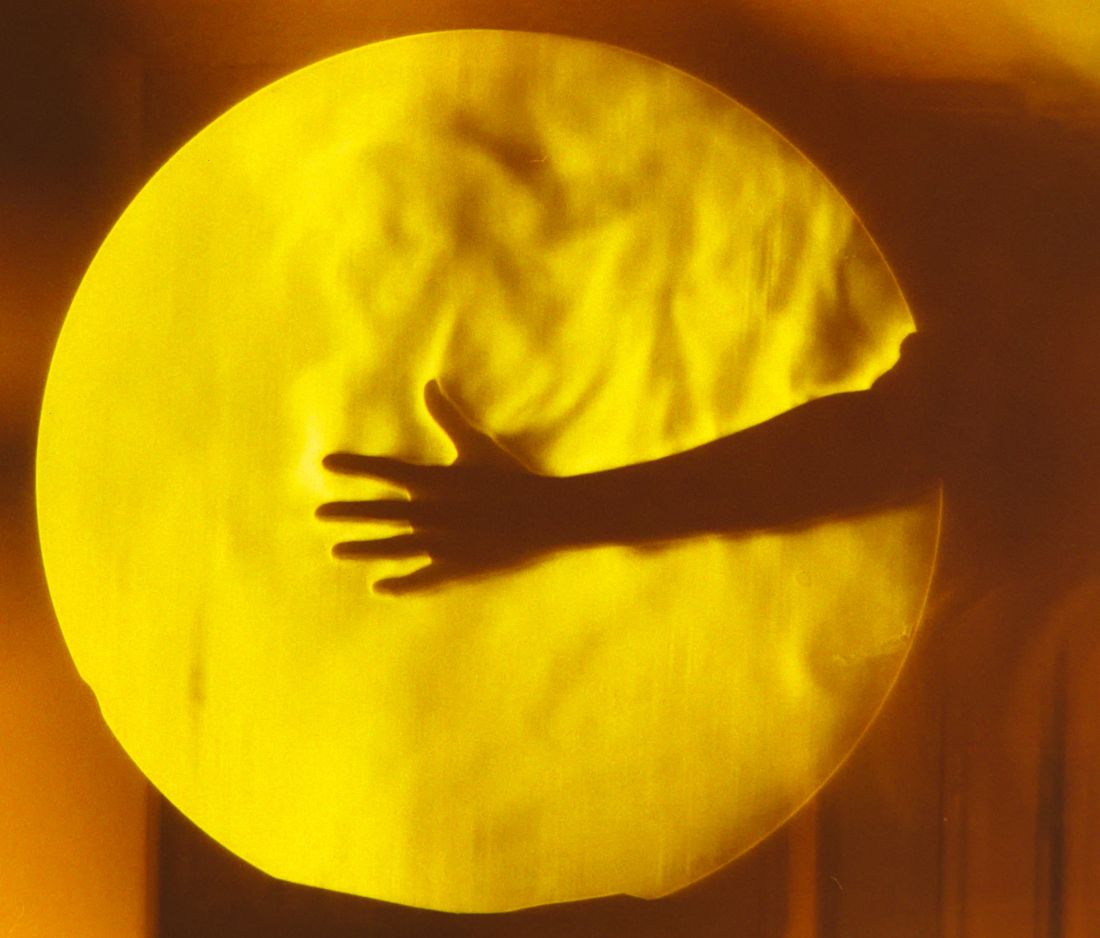
Judging the polishing progress with an eyepiece as magnifier and a flashlight. The pits scatter the light and glow like "stars" in the backlight. See more details here. |
 |
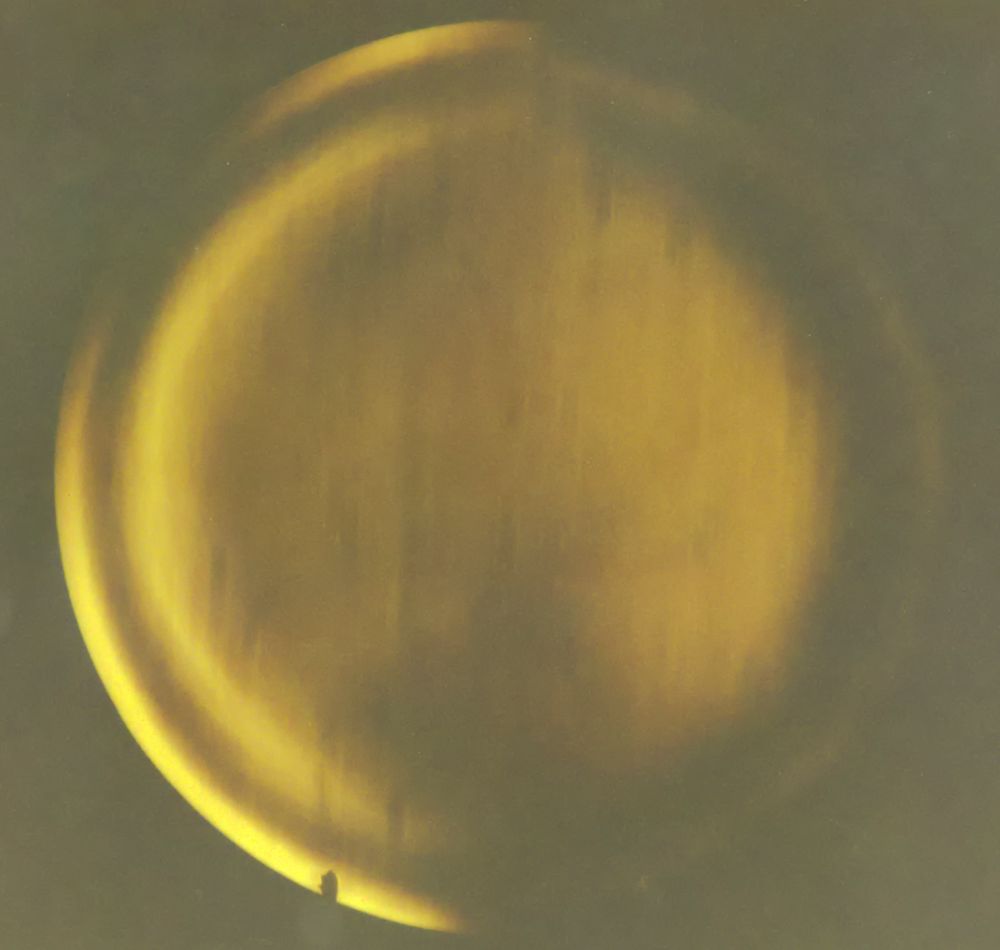
Playing around with Foucault on the spherical mirror. Air turbulences caused by the warm hand. |
| Parabolizing |
|
 |
Parabolizing on the 16" tool with "Mirror on Top"
(MOT). --> No good idea! The outer zones remained unpolished, the CEO dried out and scratched the whole edge zone with thousands of tiny sleeks. I had to go back to spherical several times, to polish out again the sleeks due to dried CEO at the edge. So keep your mirror wet at all times and work in a humid room, if possible! |
 |
Pouring the 10" pitch tool on a glass blank with softer pitch of 25° hardness. The softer pitch flows more easily to better match the aspheric surface. The lap has a star form, so that the action tapers off smoothly, to prevent formation of zonal defects. |
 |
Parabolizing with the 10" pitch lap TOT. W- strokes are applied, to
uniformly deepen the center. This is by far better to control, than with the
above MOT- method. Working mainly "center over center" digs more in
the middle, eccentric strokes mainly towards the edge, brings more correction
into the outer zones.
|
 |
A 2.5" aluminum disc and a 4" glass disc star lap with soft pitch of 23° were used for correcting local zones. They create a relatively rough surface, which has to be smoothened out with a larger tool afterwards. Circle and oval movemends instead of strokes make a more smoth surface. |
 |
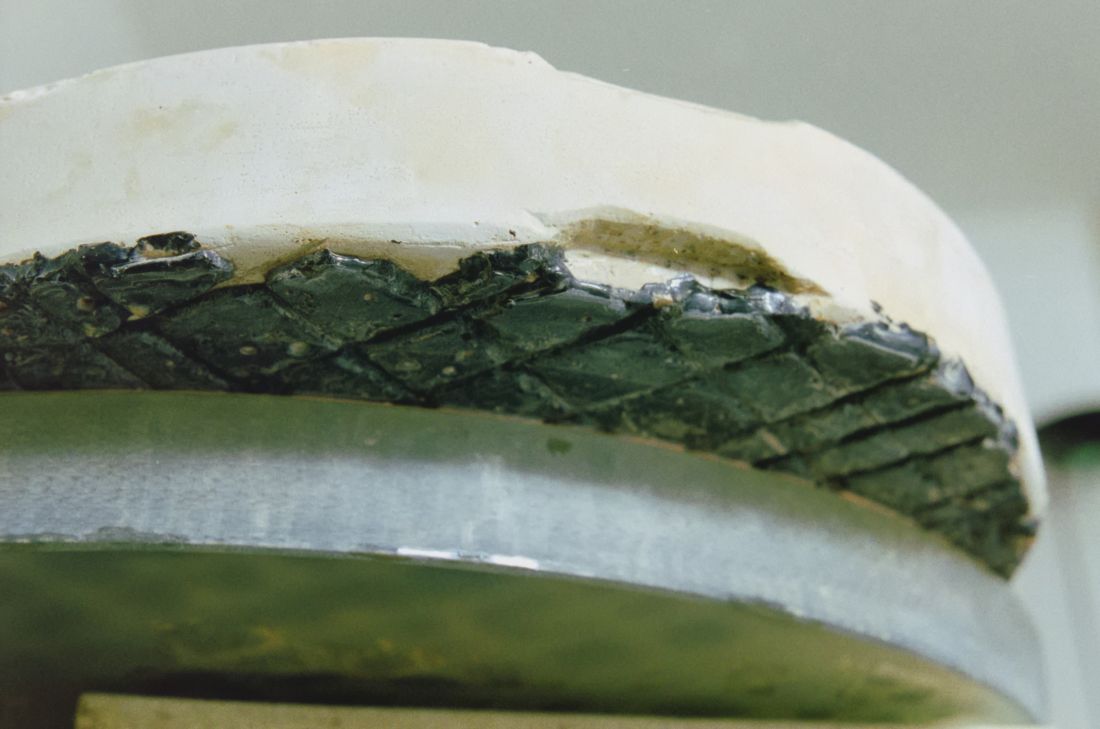
Turned down edges (TDE) are the nightmare of
every mirror maker. The CEO- loaded thumb corrects them very effectively,
leaves a wider low zone inside the edge, however, which has to be
corrected afterwards. For this reason a TDE should be corrected with first
priority, since the correcting procedure can alter the overall
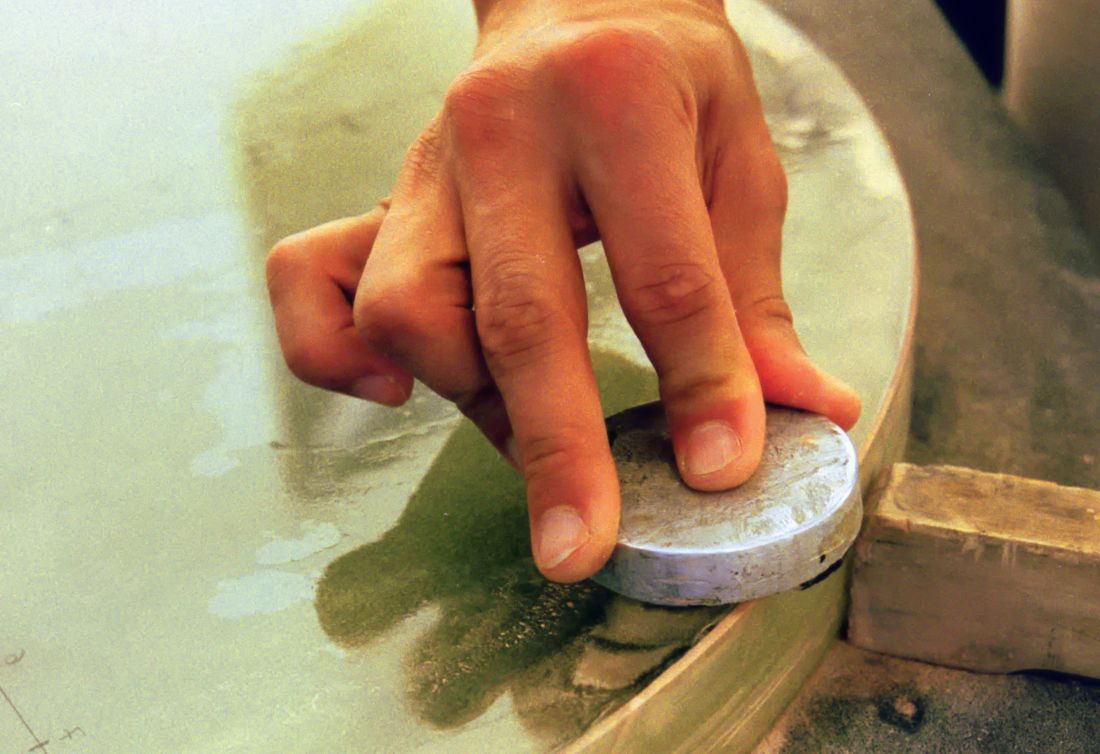
shape. Take care, this means joggling with live coals! In a few minutes you can dig with your chilly hot thumb a Grand Canyon into the glass!!! (or at least a "Samaria Canyon" from the island Crete). Don't work on the edge itself, but directly inside the edge (like shown in the picture). |
 |
Polishing the edge with the 2.5" tool, to
correct the 1" low zone left behind by the above thumb
procedure. Uniform machine like strokes and continuous walking around the
mirror is a must here, to prevent astigmatism.
Working with small Tools creates rough and uneven surfaces, which have to be smoothed out again with a large tool. Thus they should be avoided at the end of figuring. |
 |
An ugly ring zone left over from the TDE treatment. This costs lots of "cristopanagies" (these are Greek cusses, against which those in other languages sound like calm compliments) and several hours "persuasive power" to come back again to a friendly relationship with your chunk of glass |
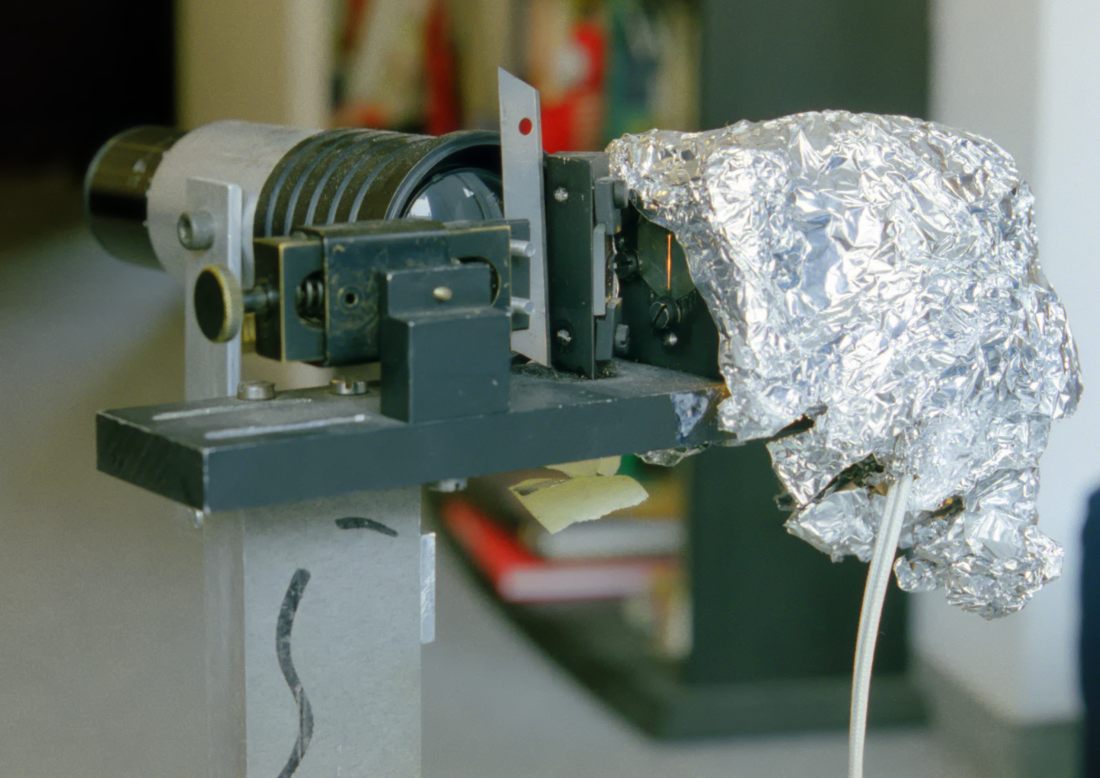 |
The Foucault tester from Gert Gottschalk with a micrometer gauge and a small telescope for a better judgment of the zone illumination. The light source is reflected to a 90° angle via a small mirror, which allows the knife edge to move closer to the optical axis. Later I made my own slitless tester. |
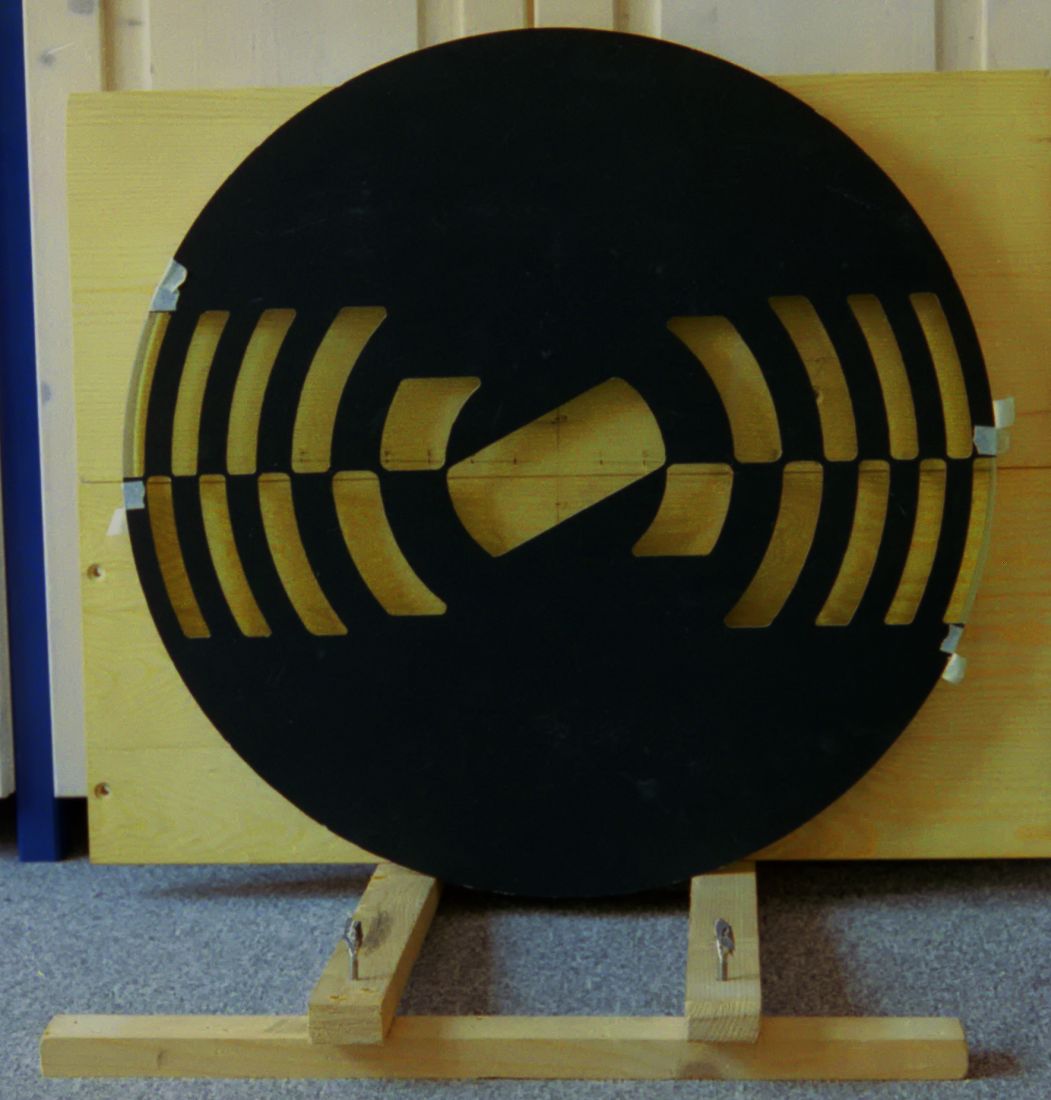 |
Couder screen with10 zones. For smaller mirrors less segments are sufficient. |
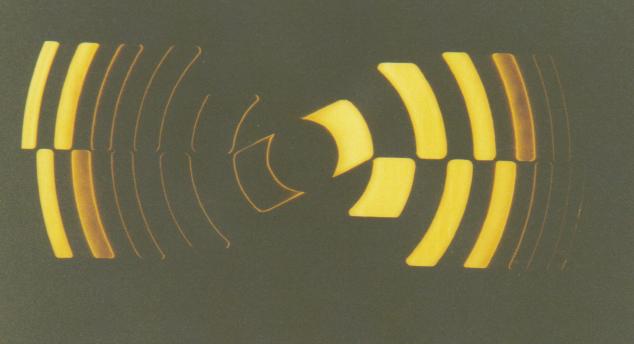 |
Foucault test with the Couder screen. At this aperture and this focal ratio like dancing on a hot volcano! This means, that minor errors in the knife edge readings can cause serious surface deviations. With a non- quantitative Ronchi test I couldn't see any zones, which does not really mean much as well. |
 |
The parabolized mirror with the knife edge at the 70% zone. The measurements show a wavefront error of Lambda/7 peak to valley. This would mean a maximum error on the surface of 1/25.000 mm. See for details Foucault test analysis current status (56KB Excel sheet) Is this true? See the star test to get a more complete picture. |
^ To top of this page
To mechanical
components
Home | Imprint | Privacy Policy | about |